Push notifications keep you informed about important updates to your projects, new messages from our team, invoice reminders, and upcoming meetings. This guide shows you how to enable notifications on both iOS and Android devices.
Why Enable Push Notifications?
With push notifications enabled, you will receive instant alerts for:
- Project Updates – Status changes, milestone completions, deliverables ready for review
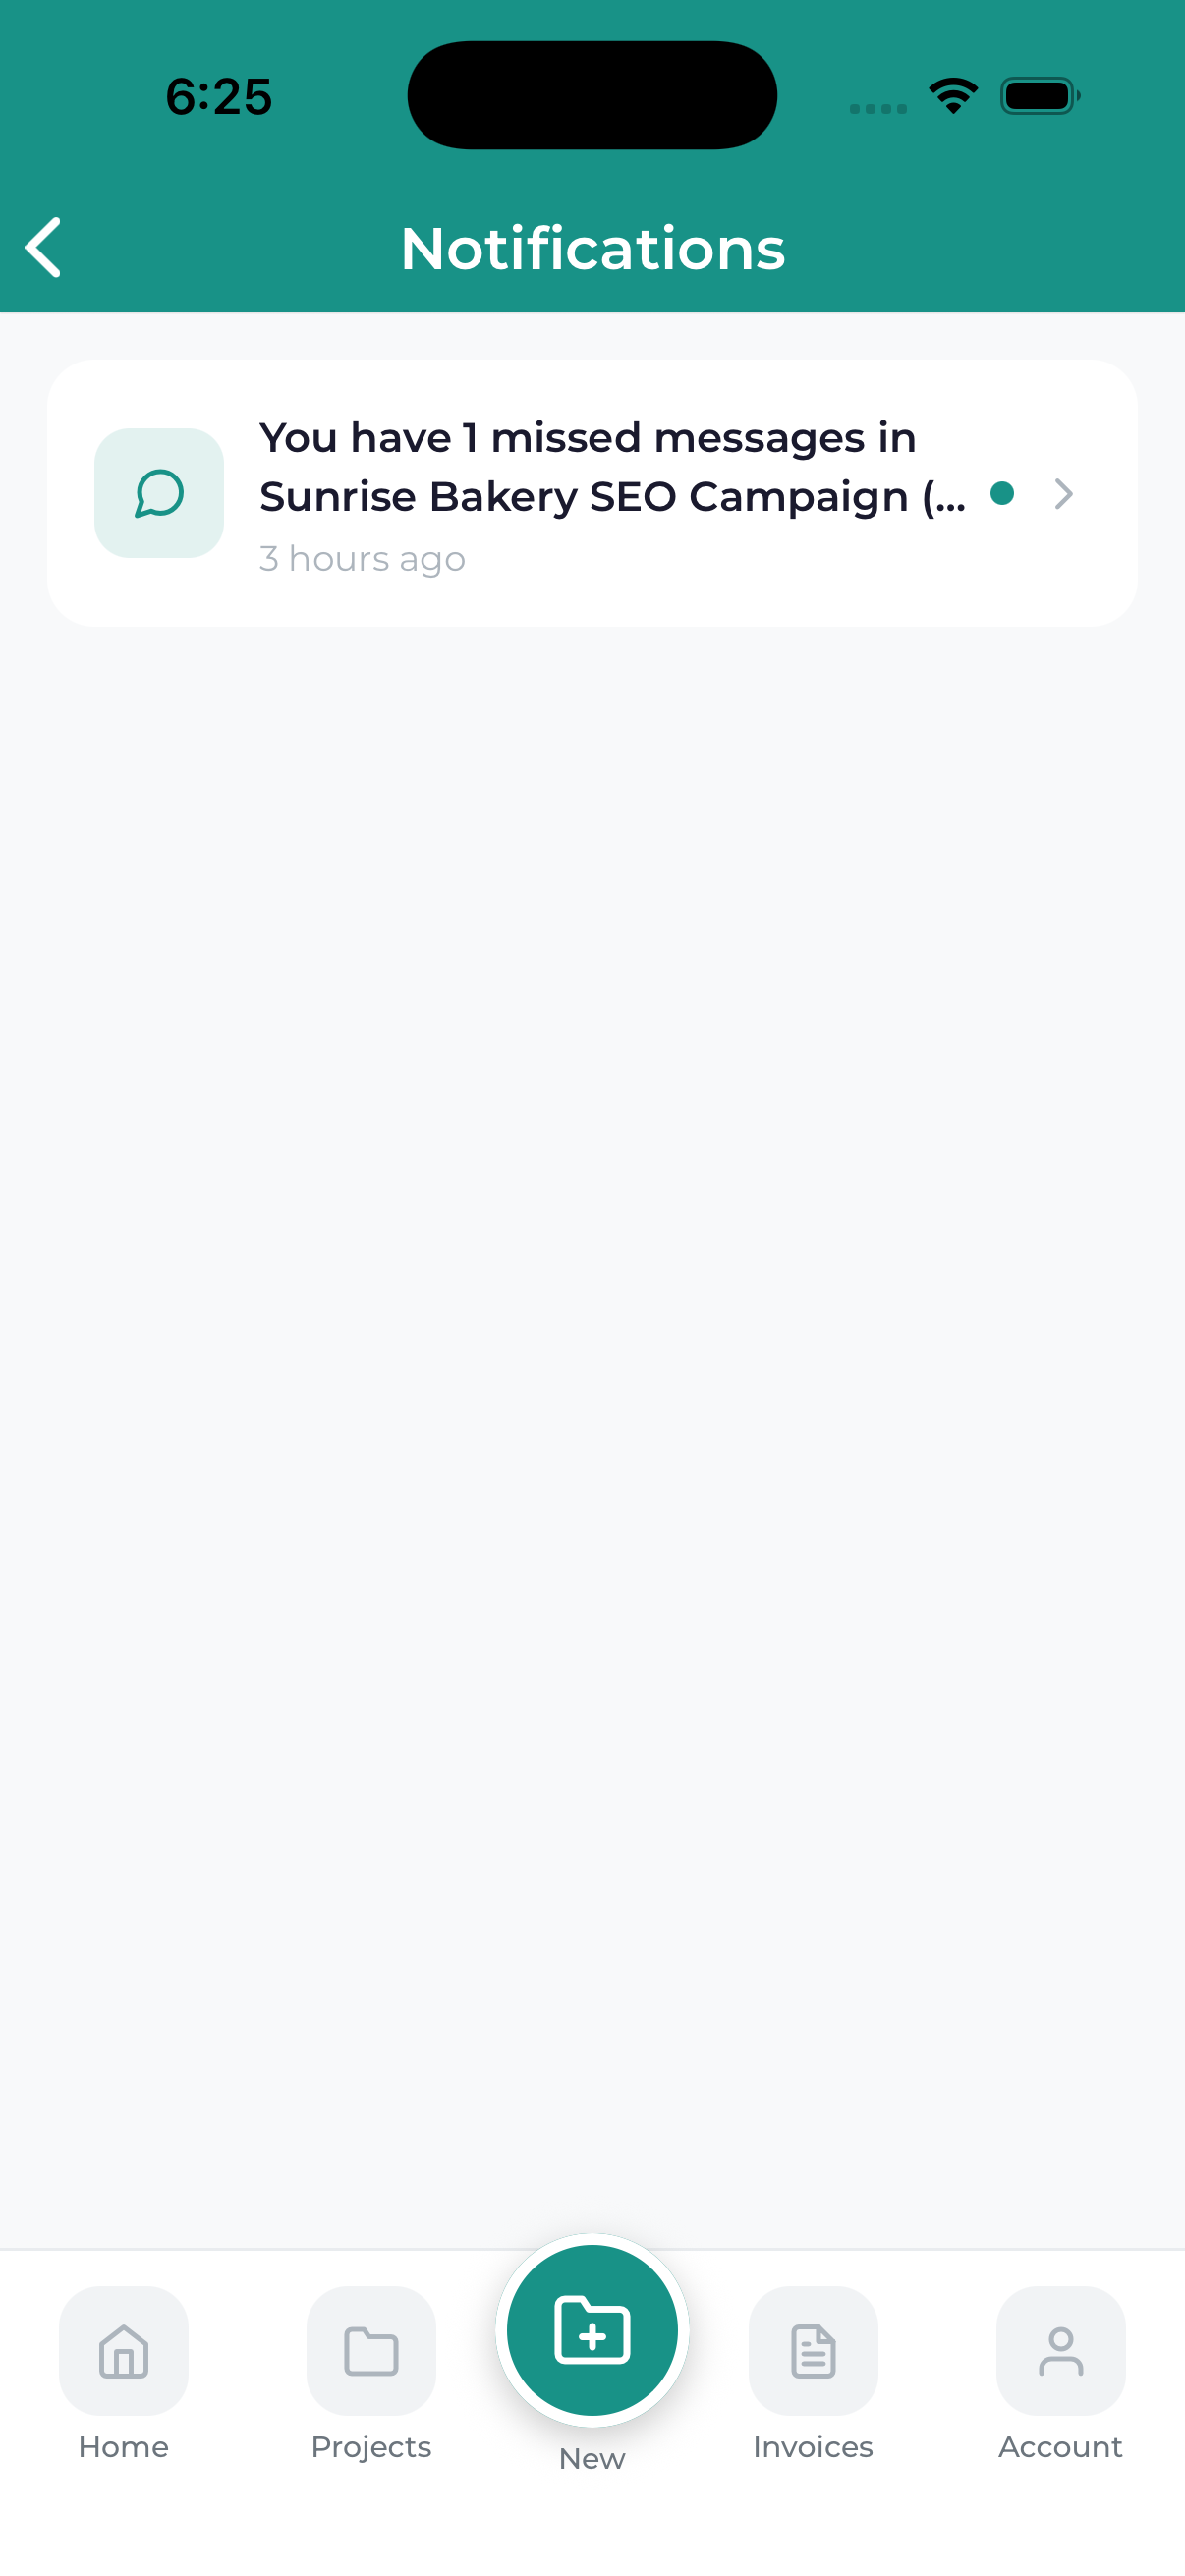
- New Messages – When our team sends you a message in project chat
- Invoice Alerts – New invoices, payment confirmations, upcoming due dates
- Meeting Reminders – Alerts before scheduled meetings so you never miss a call
- Important Announcements – System updates and special offers
We respect your time and only send notifications that matter. You will not be bombarded with unnecessary alerts.
Enabling Notifications on iOS (iPhone/iPad)
Launch the Lead Marketing Strategies app on your iPhone or iPad. If this is your first time opening the app, you may see a notification permission prompt automatically.
When the app asks to send you notifications, tap Allow. This enables all notification types.
If you tapped Do Not Allow previously, enable notifications in your device settings:
- Open the Settings app on your iPhone/iPad
- Scroll down and tap Lead Marketing Strategies
- Tap Notifications
- Toggle Allow Notifications to ON (green)
While in the notification settings, you can customize:
- Alerts – Choose Lock Screen, Notification Center, and/or Banners
- Sounds – Enable or disable notification sounds
- Badges – Show or hide the red badge on the app icon
- Show Previews – Choose when to show notification content
Enabling Notifications on Android
Launch the Lead Marketing Strategies app on your Android device. On first launch, you may see a notification permission request.
When Android asks for notification permission, tap Allow to enable push notifications.
To enable notifications after denying:
- Open your device Settings
- Tap Apps or Applications
- Find and tap Lead Marketing Strategies
- Tap Notifications
- Toggle Show notifications to ON
Android allows granular control over notification types. You may see separate toggles for:
- Project Updates
- Messages
- Invoices
- Meetings
- General
Enable the channels you want to receive notifications for.
In-App Notification Settings
Beyond device settings, you can customize notifications within the app:
Tap the menu icon (three lines) in the top-left corner to open the navigation drawer, then tap Settings.
Find and tap the Notifications or Notification Preferences section.
Toggle individual notification types on or off based on what you want to receive:
- Project Updates – Notifications about your project progress
- Messages – New chat messages from our team
- Invoice Notifications – New invoices and payment reminders
- Meeting Reminders – Alerts before scheduled meetings
- Marketing Tips – Occasional helpful tips (optional)
In-app settings control which notifications we send. Device settings control whether your phone displays them. Both need to be enabled for notifications to work.
Notification Troubleshooting
Not receiving any notifications?
- Check device settings – Ensure notifications are enabled in your device settings for our app
- Check app settings – Make sure notification types are enabled in the app
- Check Do Not Disturb – Ensure DND mode is not blocking notifications
- Check Focus mode (iOS) – Ensure our app is allowed during Focus modes
- Restart the app – Close the app completely and reopen it
- Check internet connection – Push notifications require an internet connection
- Update the app – Ensure you have the latest version installed
Getting too many notifications?
You can reduce notification frequency by:
- Disabling specific notification types in app settings
- Using your device notification summary features
- Adjusting delivery to Notification Center only (iOS)
Notifications delayed?
Battery optimization features can delay notifications:
- Android: Disable battery optimization for our app in Settings, Apps, Lead Marketing Strategies, Battery
- iOS: Ensure Background App Refresh is enabled for our app
Some Android devices from manufacturers like Samsung, Huawei, and Xiaomi have aggressive battery optimization that can prevent notifications. You may need to add our app to a protected apps list or disable battery optimization for reliable notifications.
Recommended Settings
For the best experience, we recommend:
- Enable all notification types – Stay informed about everything
- Allow sounds and badges – Helps you notice important alerts
- Allow lock screen notifications – See updates without unlocking
- Disable battery optimization – Ensures timely delivery