The project wizard is a step-by-step guide that helps you submit a complete project request. This detailed walkthrough shows you exactly what to expect at each step and how to provide the information we need.
Wizard Overview
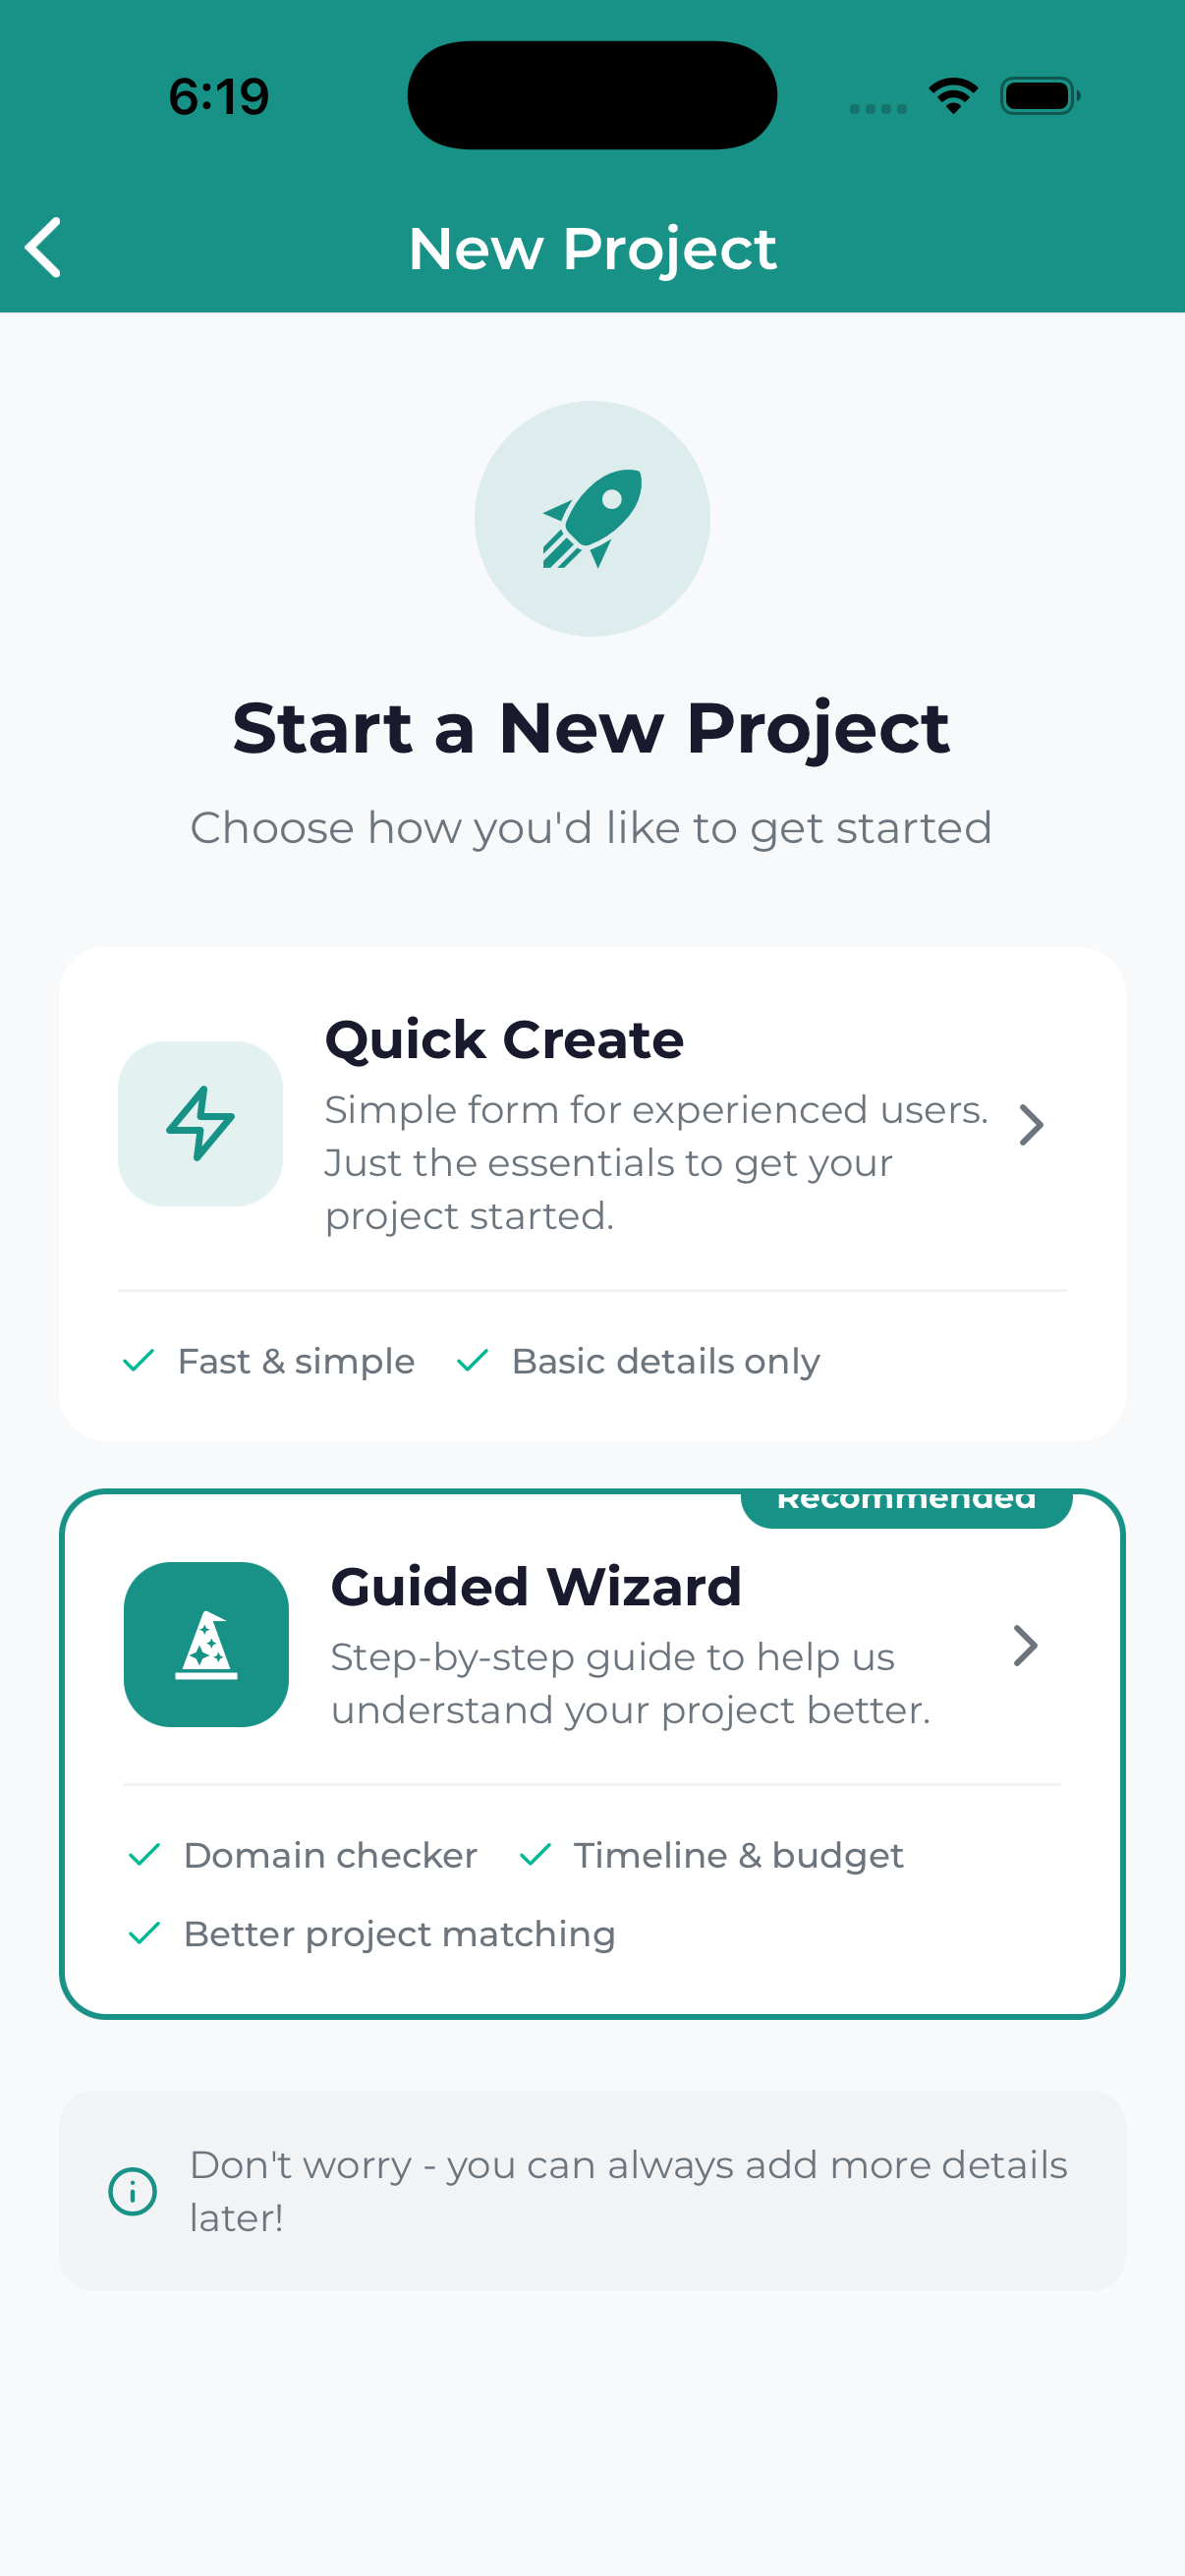
The project wizard consists of these steps:
- Service Selection – Choose what type of help you need
- Project Details – Describe your project and goals
- Timeline & Budget – Set expectations for timing and investment
- Additional Info – Add supporting details and files
- Review & Submit – Confirm and send your request
A progress indicator at the top shows which step you’re on and how many remain.
Step 1: Service Selection
What You’ll See
A list of service categories, each with an icon and brief description.
Available Services
| Service | Best For |
|---|---|
| Website Design | New websites, redesigns, landing pages |
| SEO | Improving search engine rankings |
| PPC Advertising | Google Ads, paid social campaigns |
| Social Media | Social strategy, content, management |
| Content Marketing | Blog posts, articles, copywriting |
| Branding | Logos, brand identity, graphics |
| Email Marketing | Email campaigns and automation |
| Other | Anything not listed above |
How to Complete
- Review the available services
- Tap the service that best matches your needs
- The wizard advances to the next step
Select “Other” and describe what you need. Our team will help determine the best approach during the review process.
Step 2: Project Details
Required Fields
Project Title
Give your project a descriptive name.
- Good: “E-commerce Website Redesign for ABC Company”
- Less Helpful: “Website project”
Project Description
Explain what you need in detail. Include:
- What you want to accomplish
- Background on your business
- Current challenges you’re facing
- Any specific features or requirements
Optional Fields
Goals
What specific outcomes do you want? Examples:
- “Increase website traffic by 50%”
- “Generate 100 new leads per month”
- “Improve conversion rate to 3%”
- “Build brand awareness in the local market”
Target Audience
Describe who you’re trying to reach:
- Demographics (age, location, income)
- Business type (B2B vs B2C)
- Interests and behaviors
- Pain points your solution addresses
Step 3: Timeline & Budget
Timeline Selection
Choose the option that best describes your timing needs:
- ASAP / Rush – You need this as fast as possible (may affect pricing)
- 2-4 Weeks – Quick turnaround needed
- 1-2 Months – Standard timeline for most projects
- 3-6 Months – Larger projects with flexible timing
- Flexible – No specific deadline
Budget Range
Select your investment range:
- Under $1,000 – Small projects or single deliverables
- $1,000 – $5,000 – Small to medium projects
- $5,000 – $10,000 – Medium projects
- $10,000 – $25,000 – Larger projects
- $25,000+ – Comprehensive projects
- Not Sure – Need guidance on appropriate budget
If you’re unsure about budget, select “Not Sure” and describe your constraints in the notes. We’ll provide guidance based on your goals.
Step 4: Additional Information
Reference Examples
Share websites, campaigns, or designs you like. This helps us understand your aesthetic preferences and expectations.
Competitors
List your main competitors so we can analyze their marketing and find opportunities for you.
Special Requirements
Note any specific needs:
- Technical requirements (platforms, integrations)
- Brand guidelines to follow
- Compliance requirements (HIPAA, ADA, etc.)
- Stakeholder approval processes
File Attachments
Upload supporting documents:
- Brand guidelines or style guides
- Logo files
- Reference images
- Previous marketing materials
- Any relevant documents
Step 5: Review & Submit
Review Your Information
You’ll see a summary of everything you’ve entered. Check that:
- Service selection is correct
- Project details are accurate and complete
- Timeline and budget reflect your needs
- All attachments uploaded successfully
Make Edits
Tap the edit icon next to any section to make changes. You’ll return to that step to update your information.
Submit
- Review the terms and conditions
- Check the acceptance box
- Tap Submit Project Request
Confirmation
After submitting, you’ll see:
- A success confirmation screen
- Your project reference number
- Expected next steps
- An email confirmation in your inbox
Navigation Tips
- Back Button – Go to the previous step
- Progress Bar – Shows your current position
- Save & Exit – Save your progress as a draft
- Skip (if shown) – Skip optional steps for now
If you need to exit before finishing, use the “Save Draft” option. Your progress will be saved and you can continue later from your Projects list.